ManukaHoneyDanielleAlex3

Manuka honey, what does it do? Let me first start of by saying I was floored when I found out how much it cost, but was even more  taken aback when I saw how fast it healed a wound. My boyfriend had a deep cut on his pinky finger, and he was in so much pain. He could barely bend it. He put the Manuka honey on it twice a day and the pain went away quickly. By the end of the week I could barely see where the cut was. If you work in a restaurant kitchen, have ever had a cut or burn, you know they can take quite some time to heal. Restaurants keep special first aid kits with burn creams, antiseptic creams, etc., but I have never seen anything as effective as this honey. Therefore paying around $30.00 for a small, 1-pound jar, ended up being well worth it!

Honey

First, let’s take a brief look at honey in general. For centuries, honey has been used for its medicinal properties. I’m sure when you got a soar throat your mother, or someone told you to try drinking hot tea with honey. When I got a little older I even heard someone say to me, mix honey with a warm shot of cognac or rum. I always laughed at this, since I grew up in a household with NO alcohol. I though people were just looking for an excuse to have a shot. However, many civilizations used honey as medicne. Ancient Egyptians used it to heal wounds and during the embalming process to help preserve the bodies.

Manuka Honey

Manuka honey is made  in New Zealand and New Zealand only. The bees gather nectar from manuka plant that grows in New Zealand only. Dr. Peter Molan at The University of Waikato New Zealand, has devoted most of his career researching Manuka honey and its various healing properties. He is a professor of biochemistry. His work has pioneered most of the Manuka honey research and he has been working with many people in the medical field to understand better how it works. Check out this video of Dr. Molan explaining some of his research.

(I do not own this video nor do I claim rights to this video.)

Since our ancestors have known that honey is great to have in the medicine cabinet, what sets Manuka honey apart?

Manuka Honey has been effective against the following:

ManukaHoneyChefDanielleAlex

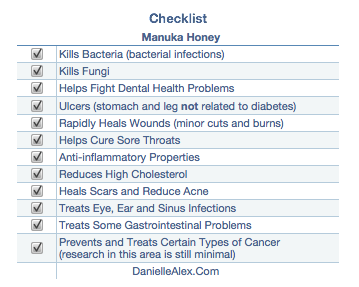
All honey has antibacterial qualities because they all contain hydrogen peroxide. Do not worry, it is completely natural and safe to consume. This is what allows honey to fight off bacteria. Manuka honey unlike any other honey, is able to fight and kill hundreds of different bacteria strains. It is also used to kill fungi. Some wounds get infected to the point where even antibiotics cannot kill the infection.  Manuka honey on the other hand, has yet to be found ineffective on such wounds; hence, the reason it is found in hospitals all over  New Zealand.

Manuka has also undergone research for its ability to help fight tooth decay and reduce plaque. Sounds kind of crazy, right? After all, it is sugar but once again setting this honey apart from all others. Of course I would not suggest eating half a container a day, but adding this to your tea instead of refined sugar would only help you.. The medical-grade jars of honey even have recommendations on the back for what dosage a person should take. I would consult your local physician and dentist before doing so, especially if you have diabetes. For more on Manuka and tooth decay click here.

Manuka Potency?

Dr. Peter Molan states, “In all honeys, there is – to different levels – hydrogen peroxide produced from an enzyme that bees add to the nectar. In manuka honey, and its close relative which grows in Australia called jellybush, there’s something else besides the hydrogen peroxide. It works on bacteria, fungi, protozoa. We haven’t found anything it doesn’t work on among infectious organisms. And there’s nothing like that ever been found anywhere else in the world.”  Manuka Honey Manuka Honey Benefits 

This “it factor,” that is not found in anything else is what Dr. Molan likes to refer to as the Unique Manuka Factor (UMF). This has now become one of the few ways to certify and authenticate the potency of Manuka honey’s antibacterial power. UMF is an international trademark, much like AOC is to French Wine for example. There are certain standers set in place to assure the quality and authenticity of a product.

UMF honey has to be produced in New Zealand and Packaged in New Zealand. Some companies are trying to ship over large barrels of  Manuka honey to other countries and then packaging them abroad. When this happens some companies, not all, will alter the honey to raise the UMF active rating. When you see a jar with the UMF rating, understand that they have to pay for that certification. Some companies are too small, cannot afford to pay or choose not to pay fees to have the UMF rating on it. If it has a UMF rating it has a UMF rating of 10+ or higher. There are companies that have now made up their own verbiage or set up their own standard for evaluating the honey’s active ingredient. Either way, if it’s quality honey you are going to have to pay for it, but that’s not saying you need to spend $50 on a 8-oz jar. I suggest researching the brand before you buy and go to your local health-food store and speak to them. Some of the people working at the store have a wealth of knowledge because they speak directly to the vendors themselves.

Then you ask, what is this rating system all about? You can find ratings of Manuka honey of  5+, 10+, 12+, 16+, etc. These numbers are a way a measuring the kill zone of its UMF antibacterial property. The bigger the number the more surface area it is able to attack and kill. For healing acne, scars, wounds etc. UMF 16+ seems to be recommended by most. You can also purchase a medical grade Manuka that has undergone laboratory testing, deemed to fit various international laws. It tends to come in a smaller jar and is more expensive. There are only a few brands that make medical grade Manuka honey. Some say raw organic UMF Manuka honey does the same as the medical grade. I’m not a physician nor a scientist so I cannot say one way or the other. For my home use, UMF 16+ is just fine for my household. If I had a severe health issue, cut, burn etc. I would go to the doctor regardless.

Through my research, it appears that ratings of UMF 20+, some say 16+, and higher, are not found naturally in Manuka honey. When you start to see ratings of 20+ and beyond, companies have altered them somehow and quite often do so for marketing purposes. You will quite often find these to be more expensive, so don’t believe the hype and fall for a marketing scheme. I’ve even seen Manuka honeys mixed with glucosamine chondroitin, ginger, and other various herbs and supplements. These sell for around $50 and more. I say don’t waste your money. Buy the herbal supplement, or whatever additive that you saw in the Manuka honey, separately in it’s natural form or supplement form.

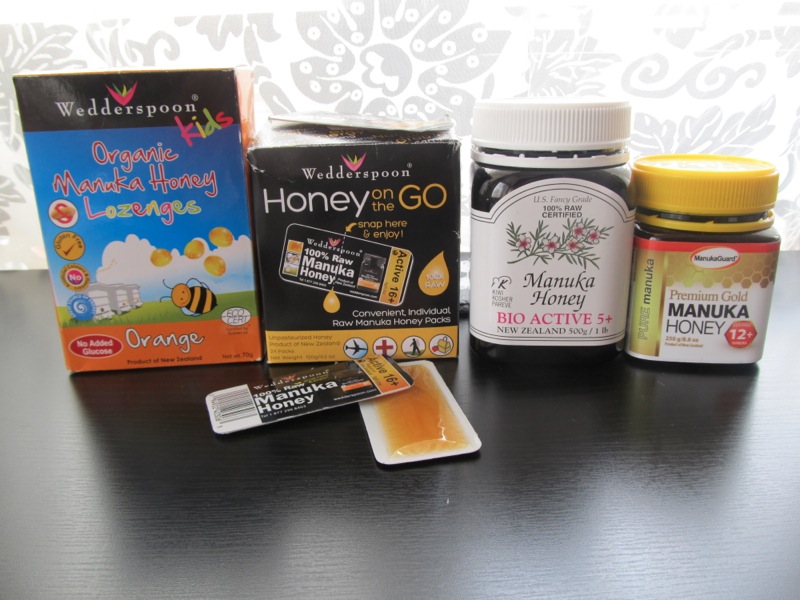
Manuka Products I love

Wedderspoon is a great company for Manuka Products and easy to find. Whole Foods carries their products and so do a variety of health food stores. Their raw organic Manuka honey is found in a clear glass bottle. I was informed that all organic Manuka honey legally has to be placed in a glass jar. Wedderspoon make great throat lozenges for children. These are recommended for kids 5 and older. They make Manuka lozenges for adults in different flavors.

DanielleAlexManukaHoney

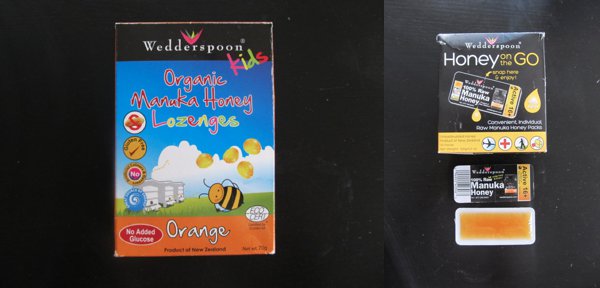
Wedderspoon sells individual packets of Active 16+,  Raw Manuka honey. These are great to keep in your bag/purse, when you are hiking, they even pass through airport security so you can bring them on the airplane.  Going hiking? Include them as apart of your first aid kit. If you happen to burn yourself around the campfire, or scrape your knee on a rock it is conveniently packaged for you to keep in your pocket.

For those with skin problems, scars, and acne Manuka honey works wonders here. You can find face creams with the honey in it. There is a Manuka honey face mask/ face cream, found here. It is not cheap, at almost $80 a jar, but at least you don’t have to worry about putting sticky honey on your face this way.

Flavor: Eating, and Baking with Manuka Honey

The flavor of this honey is quite rich. It has a slight earthy taste and it is creamier than most other honeys.  I love eating a small spoon of it, just for general health. I place it in my morning green smoothie as well as a nice cup of tea.

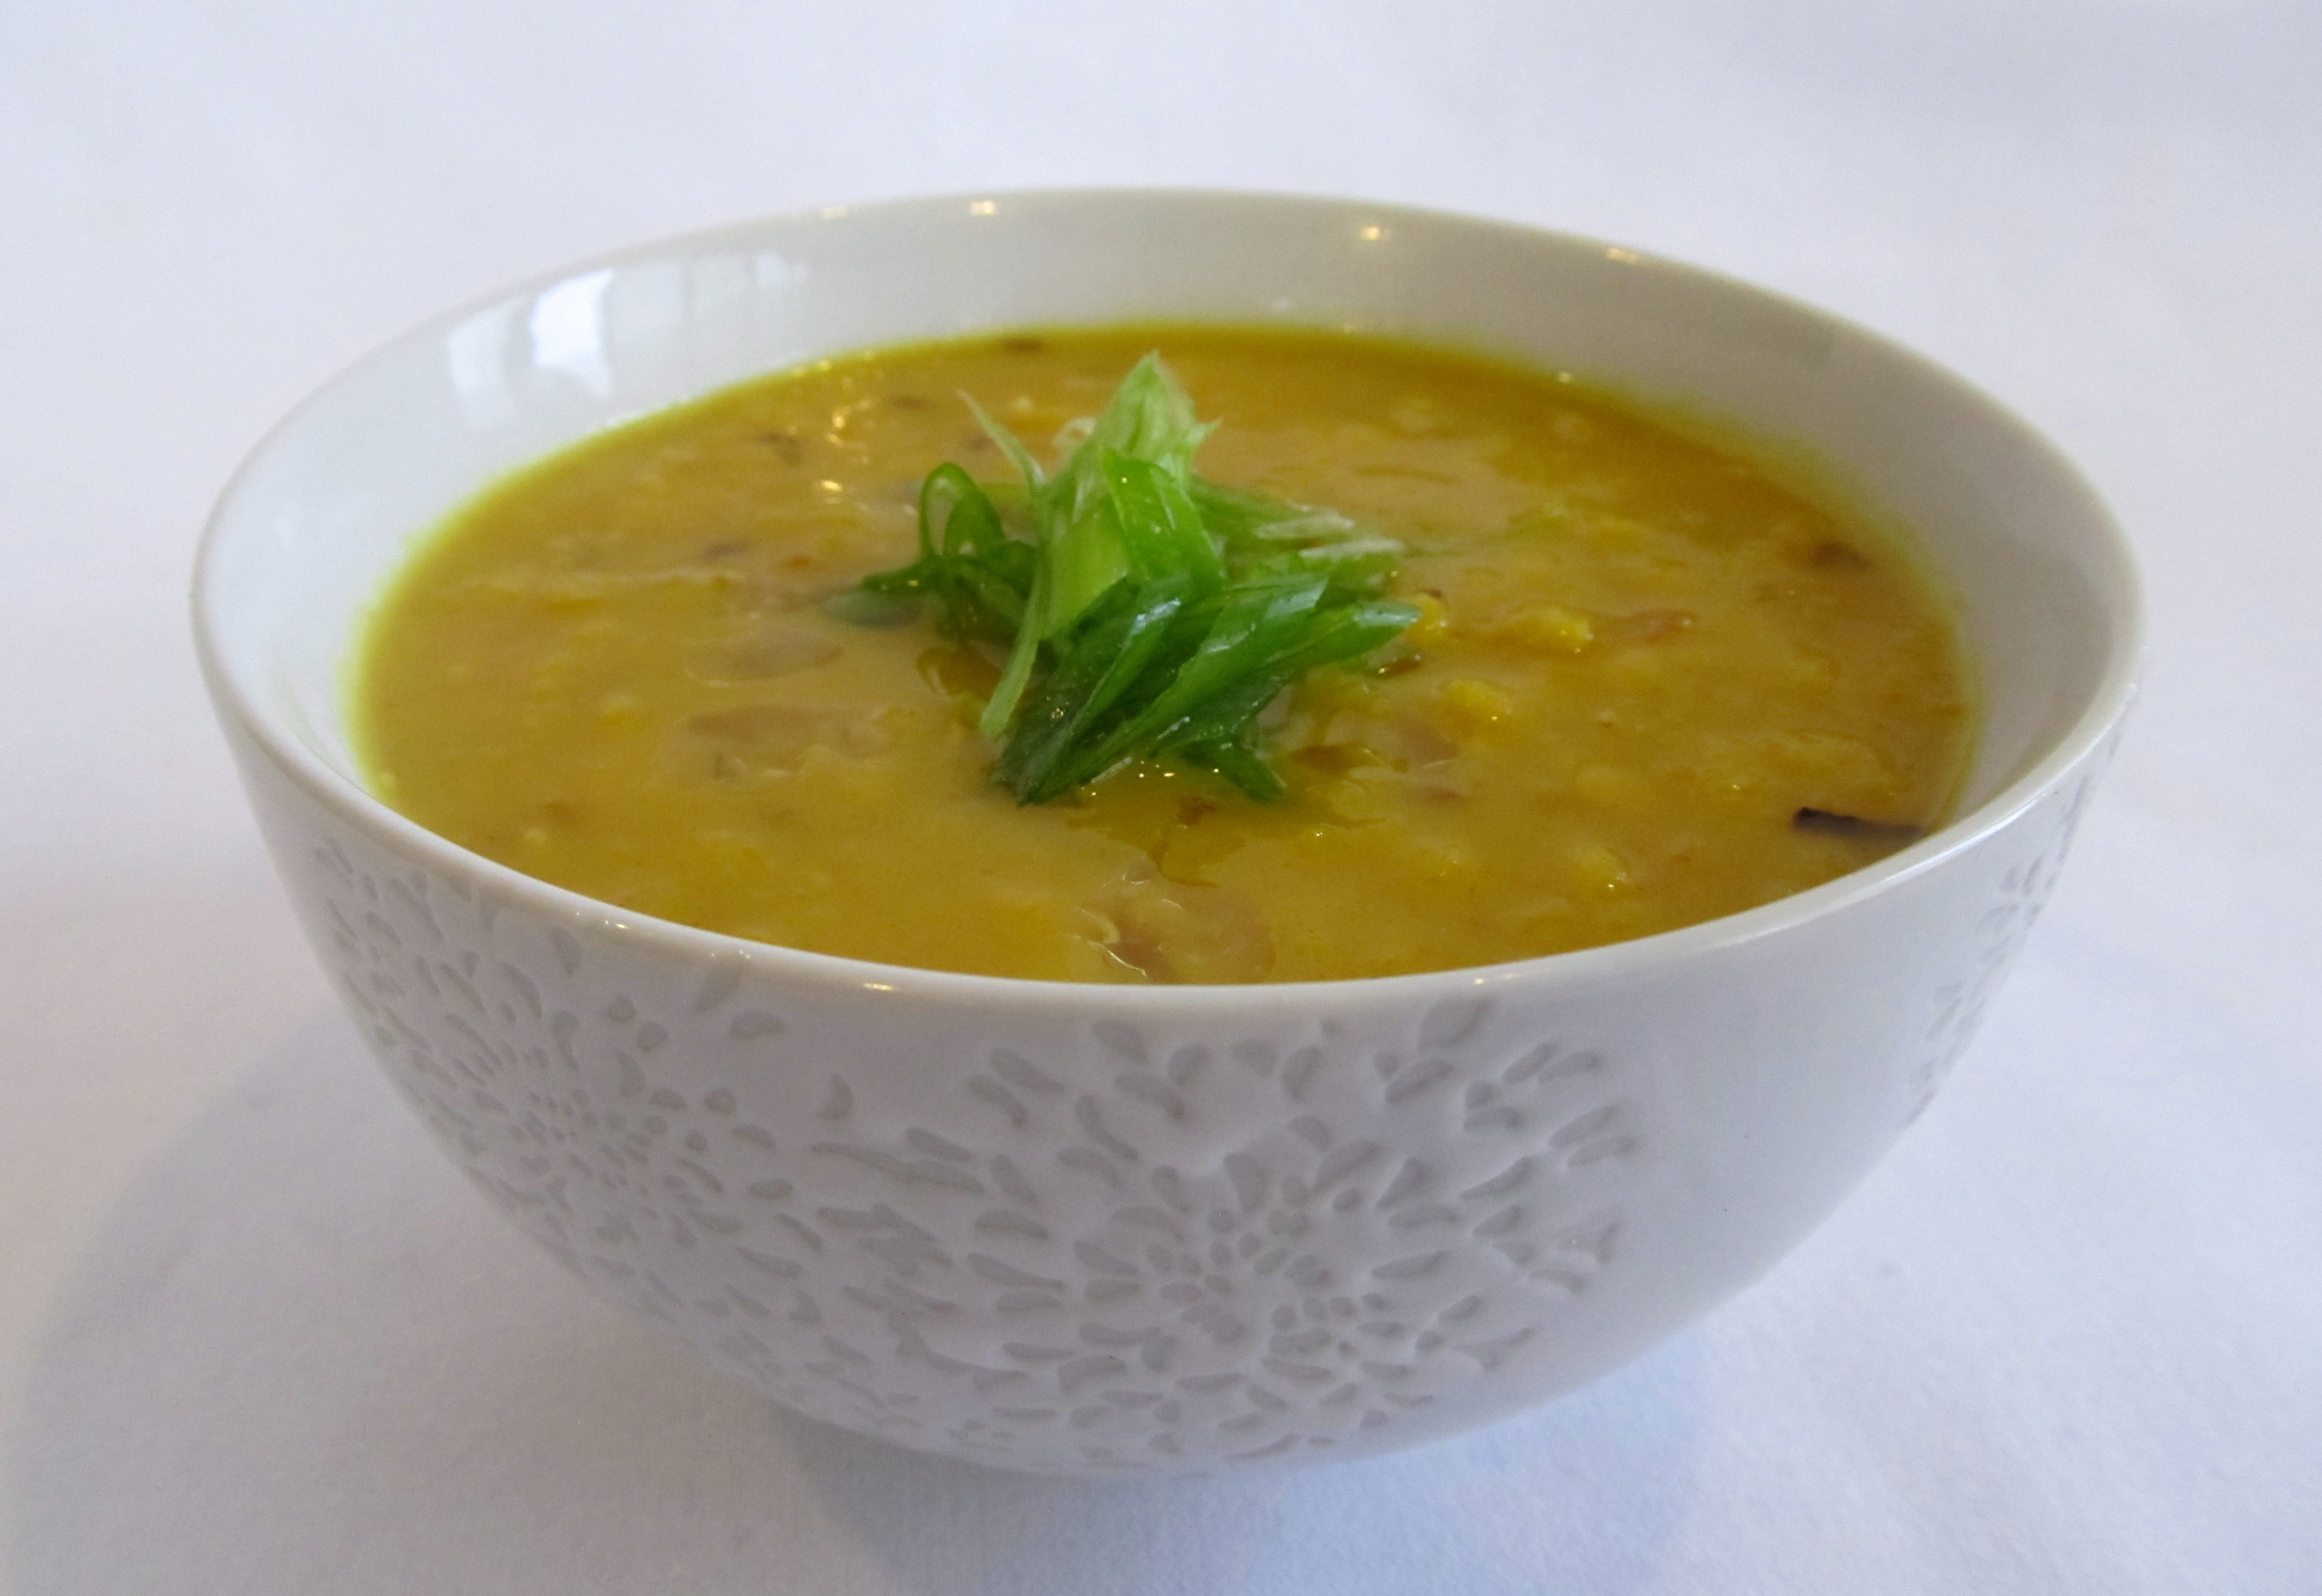
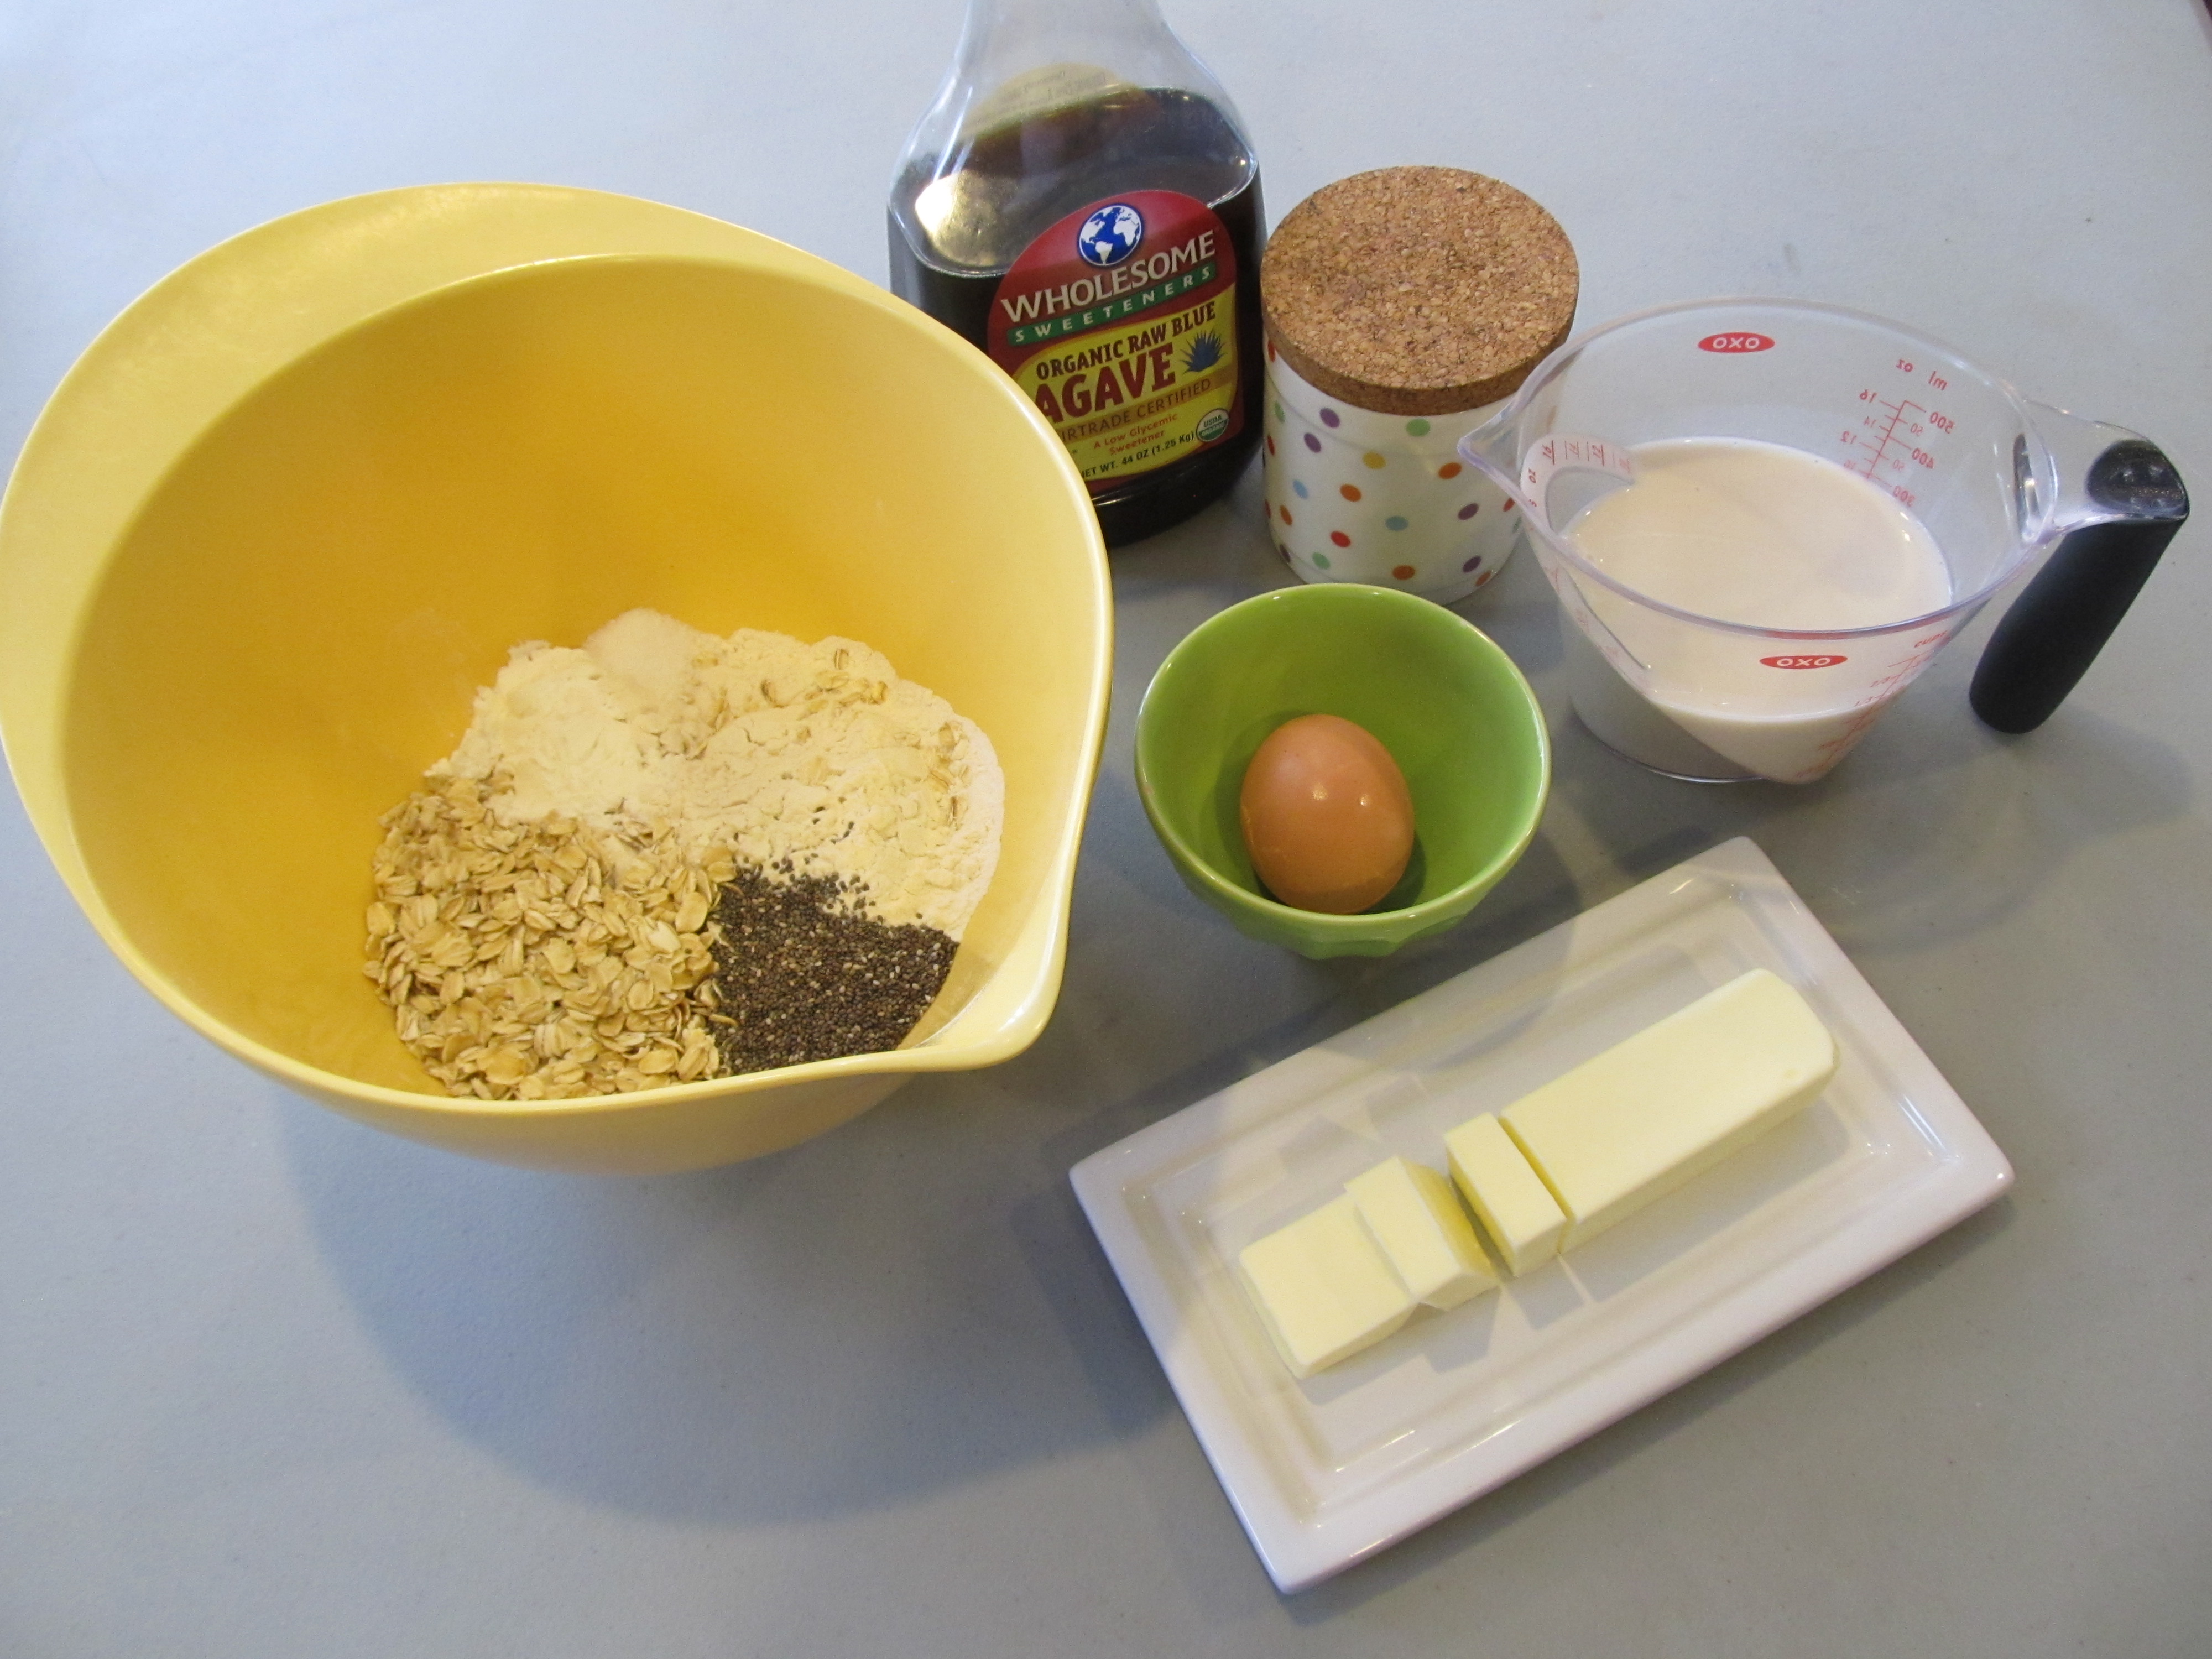
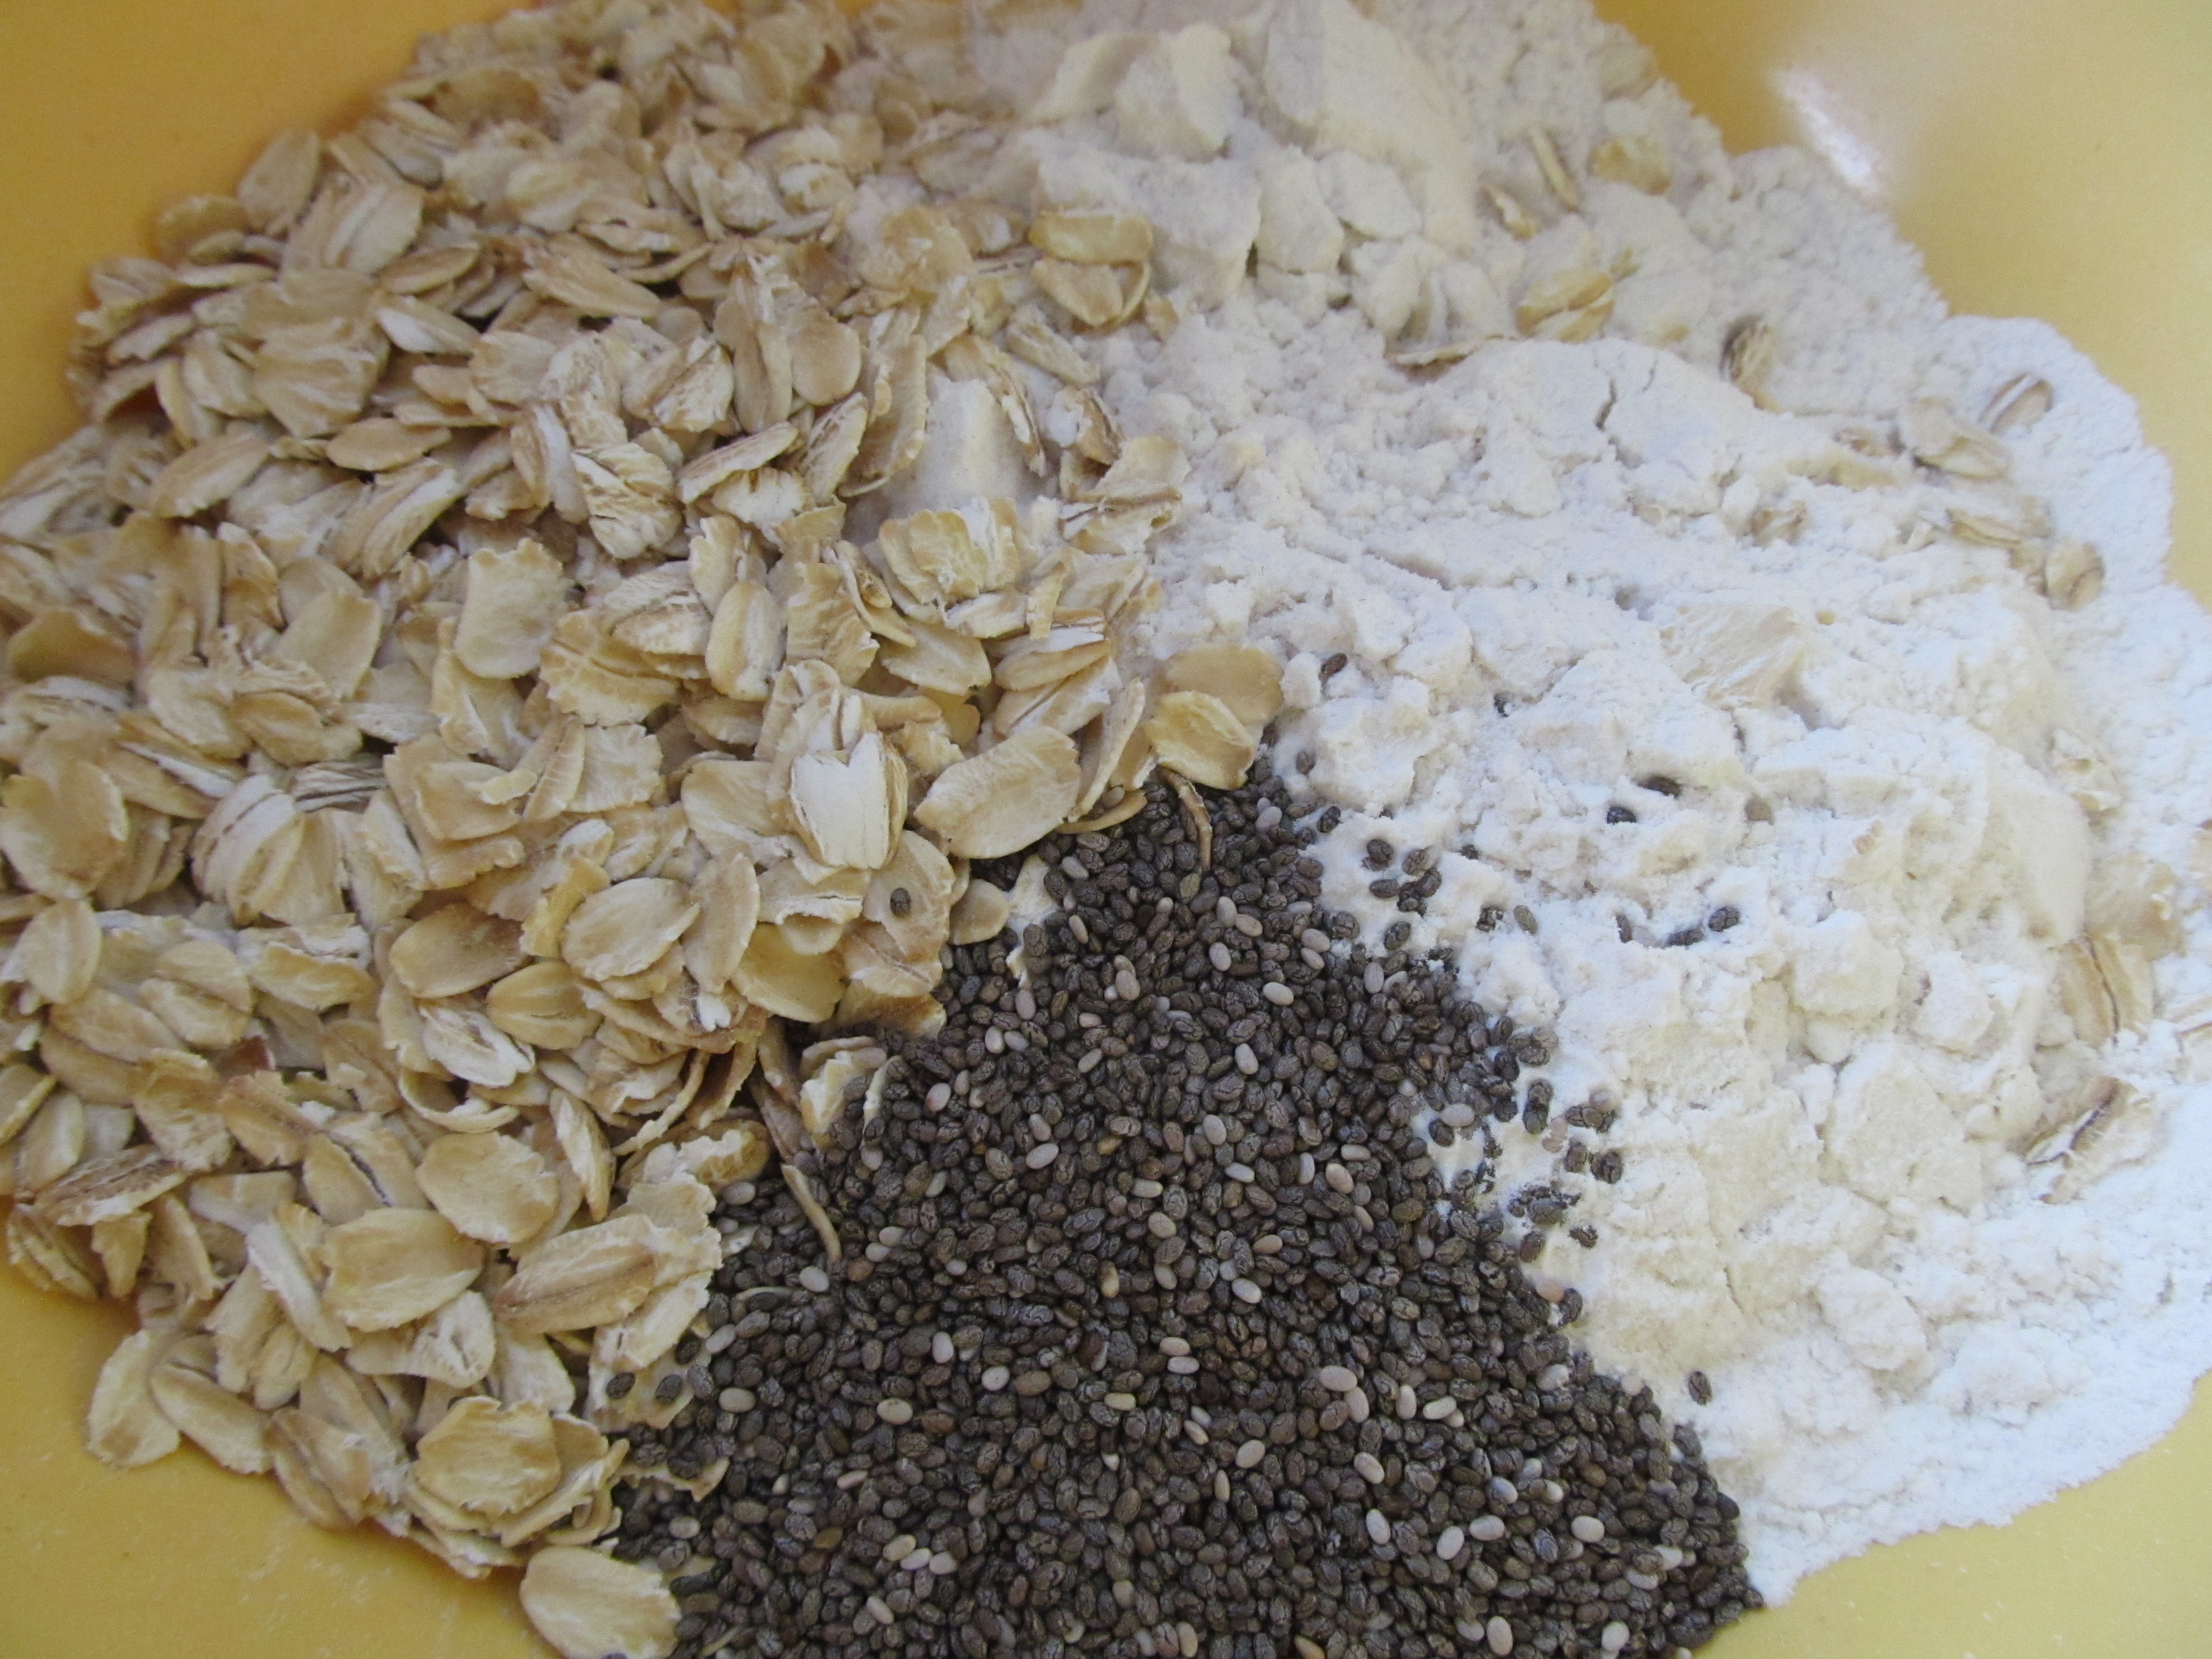
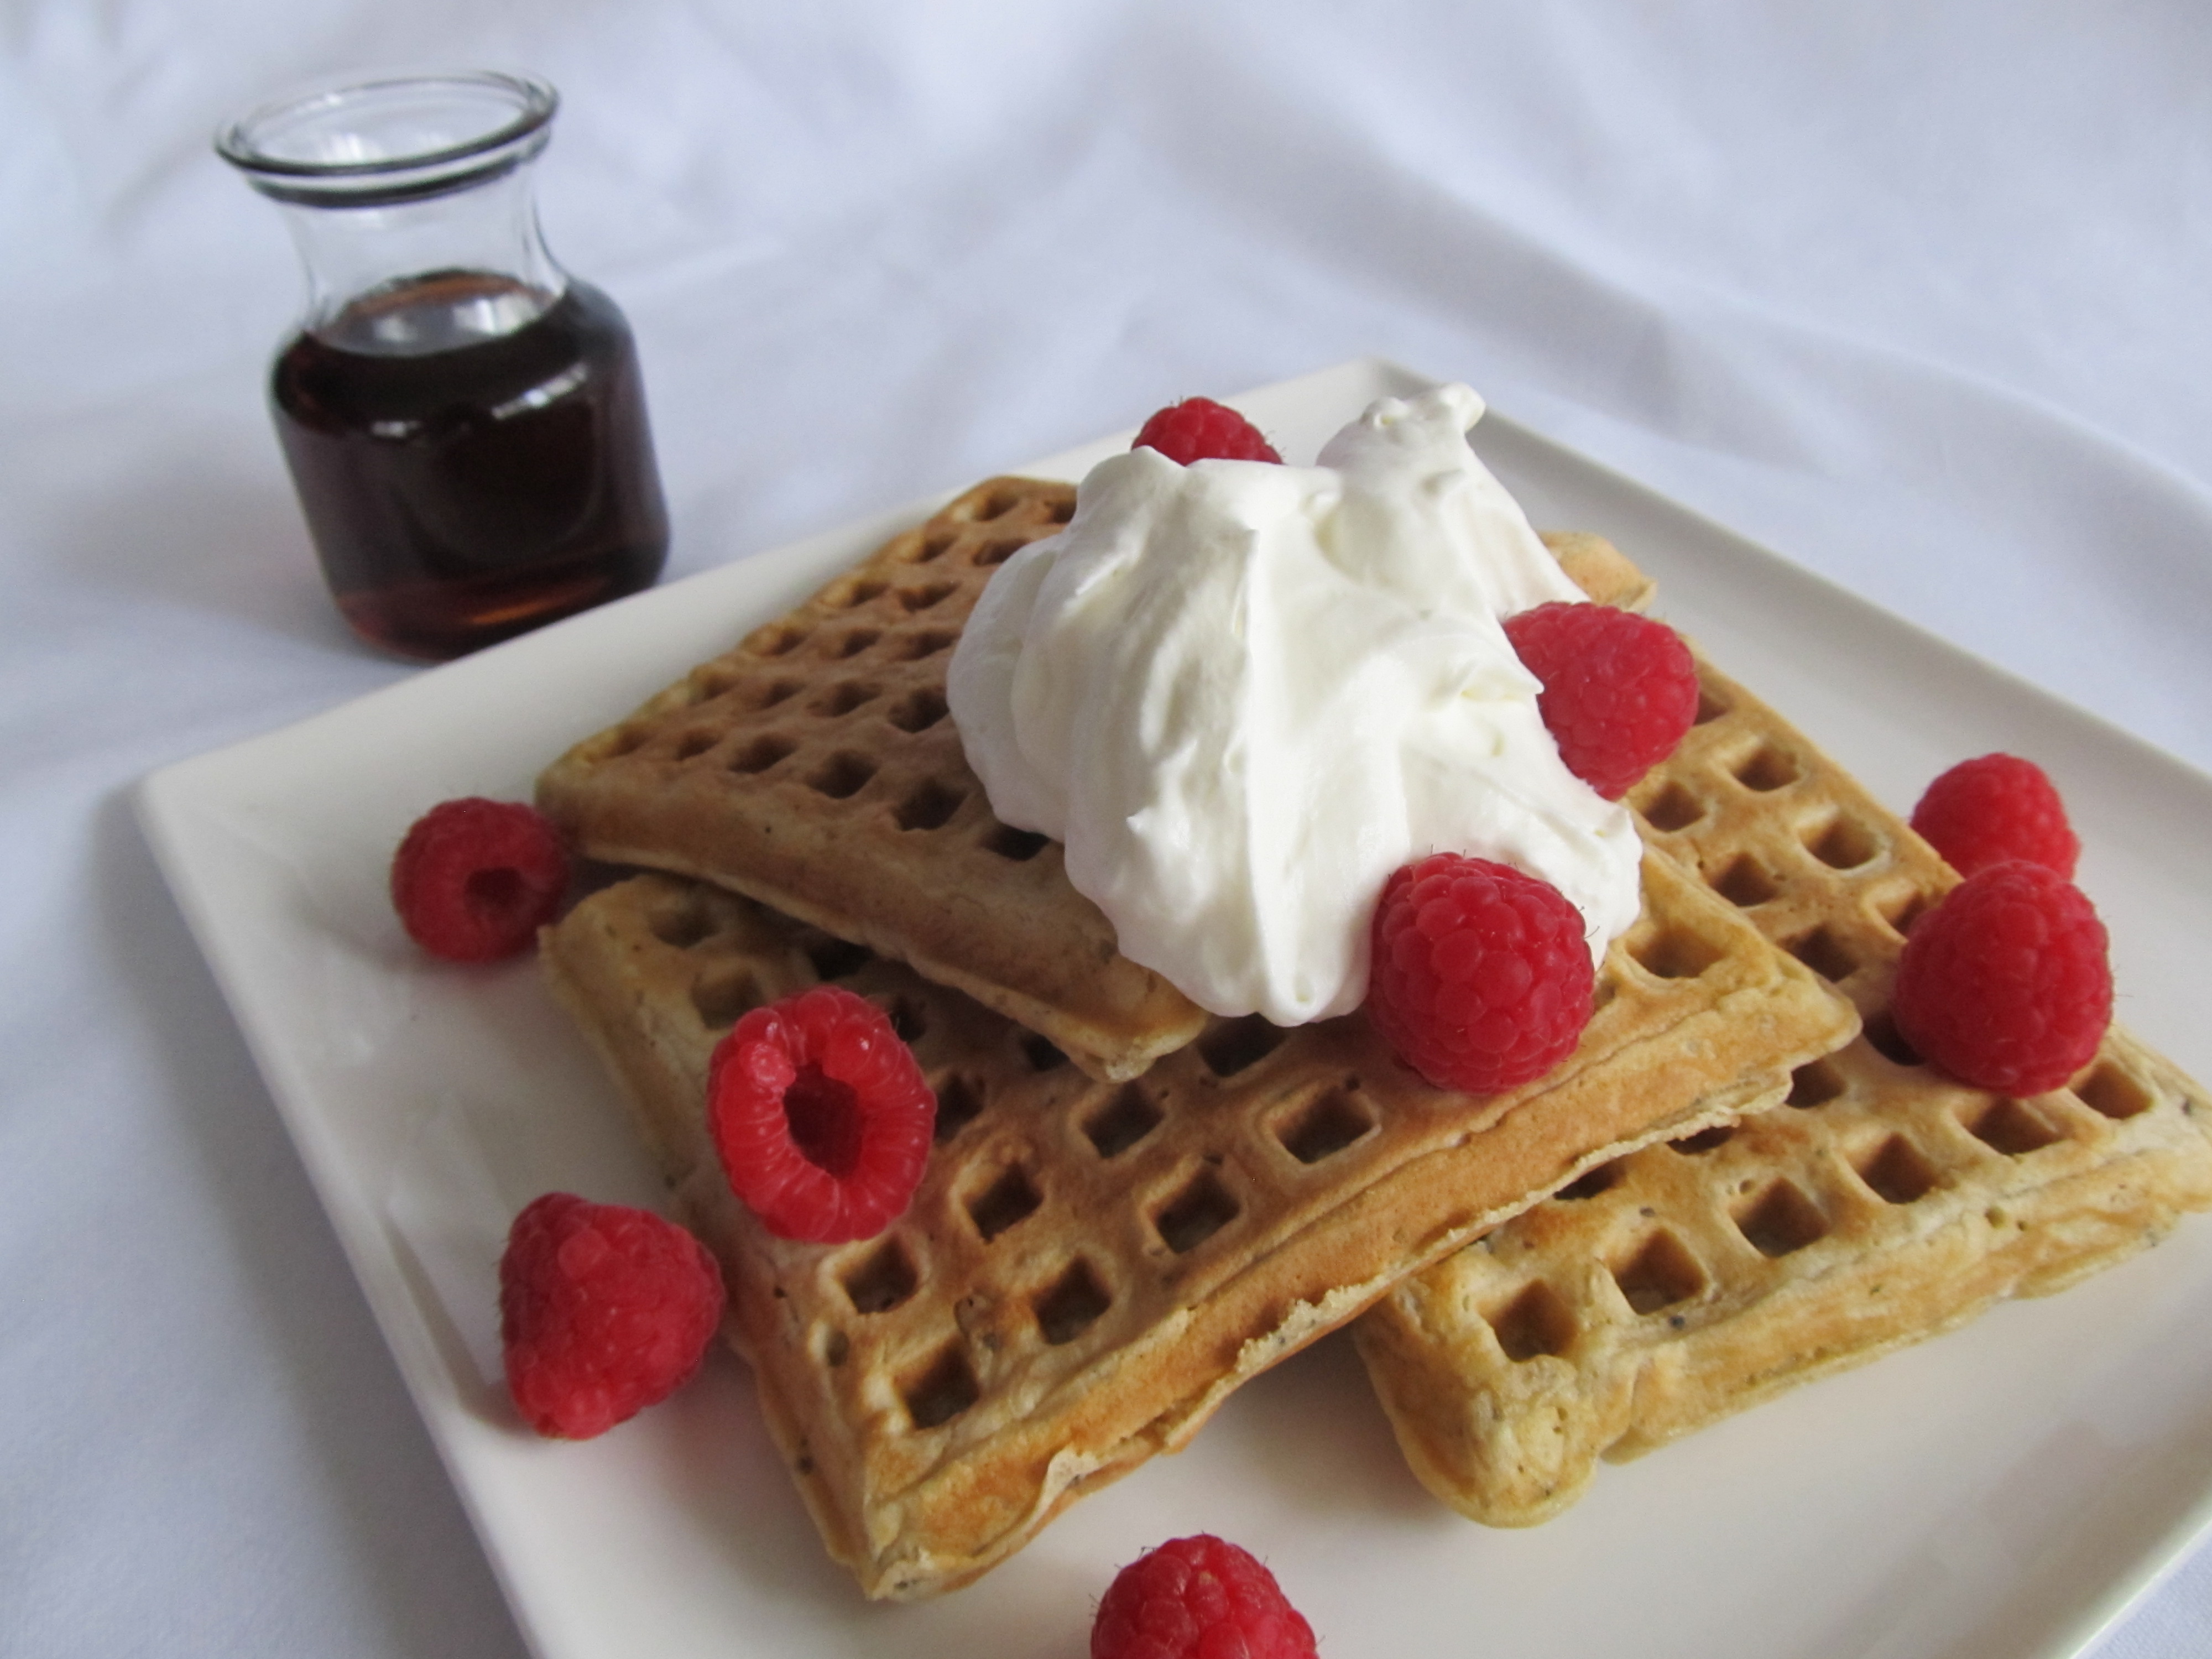
My work as a chef requires me at times to make sugar-free recipes, meaning no white, brown or granular sugars. I experiment a lot with baking, using agave and honey as subsitutes. As you may know, baking with honey causes baked goods to brown quickly so you have to be careful. Lowering the oven temperature about 25 degrees fahrenheit and reducing the amount of liquid, helps to prevent your baked goods from burning. Since I love Manuka I decided to experiment a little, adding Manuka honey to my baked goods. The results were not the best. Already the product is expensive so I would not suggest pouring a cup or so into cake batter. But the flavor is so pronounced that it was not very enjoyable. My advice would to be to add a very little amount if you wanted to use it in your bake goods. I prefer to recommend drizzling Manuka honey on top of yogurt or using it to garnish dishes and baked goods. Using a touch of it in a salad dressing is tasty as well.

Was this helpful?

I hope this was helpful. I tried to piece together a more comprehensive post on Manuka Honey, so you would not have to look all over the internet. If you have thoughts, comments, or testimonies about Manuka honey please share below.

I am not a medical doctor nor do I claim to be one. Consult your doctor before before starting your own medical regiment. Do not give honey to children that are under the age of 2, consult a doctor when giving honey to children.

Articles and more information:

BBC’s Harnessing honey’s healing power

WebMD: Manuka Honey

Green Bay: Real Food For Better Being

UMF website


Turmeric & Cumin Red Lentils: Cancer Prevention Food

Posted August 29th, 2013 by Danielle Alex

Chef Danielle Red Lentils

Turmeric & Cumin Red Lentils

Yield: 4- 8oz bowls

Ingredients

1 cup red lentils

4 cups water

1 small onion, minced

4 teaspoons ghee

3/4 teaspoon turmeric

1 teaspoon cumin

2 teaspoons garlic, minced

Himalayan pink salt to taste

sliced scallions, for garish if desired

**Vegan Turmeric & Cumin Red Lentils: This recipe can be made vegan by simply substituting vegetable oil instead of ghee.

chef danielle g alex

I love this recipe for a few reasons. A good friend of mine, Sumati, shared a similar rendition of this recipe with me during our graduate studies. And yes, it’s the same Sumati from Community Culture and Cuisine New Delhi. I remember we were in her small Paris dorm room studio. She taught me an Indian cooking technic that changed my lentil life. This recipe is really is her recipe, or at least how I remember it, except she uses a lot less onions and there are no real measurements.  The garlic is toasted until it is golden brown and the cumin seeds are also toasted in ghee, and then these are added to the lentils after they are cooked. This is the major seasoning component, giving the lentils a slight nutty flavor. So thank you Sumati for sharing this with me and all the joy and laughter we have shared over great food!

Other reasons why this is an awesome recipe:

Protein

Lentils are a great source of protein, along with many other pulses and legumes. For this particular recipe there are about 13 grams of protein in an 8oz serving. If I’m looking for a healthy and delicious meal after a workout I love having this with a nice salad. And since you should have some form of protein 30 minutes after working out, to help build muscle, this is a great option.

Turmeric

It is known to have some anti-cancer properties. It has been said to prevent and slow the grown of certain types of cancer. It is also known for its anti-inflammatory properties. For more check out what the American Cancer Society has to say about it. Turmeric is a great addition to morning smoothies and shakes. It can be found in powder form and fresh. When peeling fresh turmeric use a metal spoon. This is the same technique I use when peeling ginger.

Cumin Seeds

Cumin, another spice that researchers have looked at for its possible ability to fight cancer, because of the high levels of antioxidants it contains. It is great for digestive problems and it has also been suggested that black cumin seeds are great for migraines. Ayurvedic  medicine has been promoting cumin for a while. Check this out: Vedic Healing.

I’m not even going begin on my love for onions and garlic and how good they are for you. I’ll save that for another day. I use them is so many recipes, it’s just part of my seasoning. Now let’s get to business and find out how to make these lentils…

Danielle Alex: Lentils

Directions

1. Place a small pot on medium high heat and add one teaspoon of ghee.

2. Once the ghee melts and is hot, add half of the minced small onions and sweat for a few minutes, until the onions are translucent.

3. Add the garlic and sweat for about 1 minute, until your start to smell the garlic.

4. Add the turmeric to the ghee, onions and garlic. Let toast for about 30 seconds, stirring as not to burn anything.

5. Add lentils, stir.

6. Add water and bring to a boil. Once it starts boiling, reduce heat to a gentle simmer and cook for about 10-15 minutes until the lentils are soft, most of the liquid is absorbed and the consistency starts to thicken.

7.Once the lentils are cooked, remove from heat and set aside.

Seasoning

8. In a separate smaller pot, add the remaining 3 teaspoons of ghee.

9. Over medium high heat, melt the ghee. Hold the pot on its side, positioning the pot so all the oil is the corner of the pot. See image below.

10. Sweat the rest of the minced onions until translucent, and then add the garlic and cumin seeds. You might hear a little popping noise so do not be alarmed.

11. You know the mixture is finished when the garlic starts to brown around the edges. Be careful here, because this is the stage when the garlic can burn easily if you are not careful. Therefore, it is perfectly okay to give it a stir once in a while.

12. As soon as the mixture is finished, add it to the cooked lentils and stir it in until it is evenly distributed. Do not keep the toasted seasonings in the pan they were toasted in, as the pan is hot and the seasonings will continue to brown and burn.

13. Finish seasoning the lentils with Himalayan pink salt to taste.

14. Add chopped scallions as a garnish when serving, if desired.

Danielle Alex: lentils

How to hold the pot when toasting the onions, garlic and cumin for the seasoning. Place it on it’s side, tilting one side of the pot down towards the flame. It should not be so far tilted that the ingredients in the pot are spilling out, over the side.

Danielle Alex: lentils

What the seasoning mixture of onions, garlic and cumin seed should look like when its finished. Once it’s done, immediately add it to the lentils, as not to burn the toasted seasonings.

Danielle Alex: lentils

The toasted cumin seeds, garlic and onions are added to the cooked lentils and stirred in. Season to taste with Himalayan pink salt. Serve and enjoy!

Chef Danielle Red Lentils

Community Culture & Cuisine

Posted July 26th, 2013 by Danielle Alex

My vision in creating Community Culture and Cuisine Web Series, was to inspired people to go out into the world, try something new, meet new people and to gain new perspectives via the 3 elements. No matter where you go in the world, wether it’s a small town in the USA or all the way across the world to Hong Kong, wherever you find one of the three you will always find the other two.

Living abroad as a young American and speaking a few different languages, was an interesting experience to say the least. I found that people quite often wanted to categorize me and put me in a box, but to their surprise I did not fit the stereotype of an America. I love to travel, try new food, experience new cultures, learn new languages and meet new people even if it is not always “comfortable.” I seemed to somehow know that I was always going to learn something, gain a new perspective and/or gain some new friends along the way. This is how I knew I had to give back to my community, because the rewards I received by simply stepping out in faith, into the unknown, exceed far beyond what I could imagine.

Find out what Community Culture & Cuisine is all about in this brief trailer from my trip to New Delhi, India.


In the United States people come from an array of backgrounds and upbringings. Some are privileged with more opportunity than others, but still this is a fee country. I’ve visited and lived in places where it is difficult to just travel around a country, let alone leave it. Some kids are too busy trying to help add to their family’s income, instead of getting an education. Here in the USA, if you grew up in the penthouse or in the projects, you still have a lot more opportunity than many others will in a lifetime living in other countries.

When we start to get out of our comfort zone, when we are no longer scared of making a new friend with different beliefs and views than we have, that is when we ourselves are able to fly. This is where new ideas are born, you might get the key ingredient to creating the next hot invention or finding a cure for a disease.

The full webisode of Community Culture & Cuisine: New Delhi, India.


Only one full webisode has been shot. I plan to travel to various parts of the world, meeting up with friends that I have met along the way. Some friends I met in school in the USA and abroad, some I met along my travels and through other friends. I will dive into a culture and see how life really is in different parts of the globe. I want to put a young and new face to food and travel. I want more people to be able to relate to what we are doing and want to go out and try it themselves.

I will see what is going on in the community and look at organizations or people who are actively giving back to their communities and looking for ways to better various communities. In India we looked at an NGO, ETASHA that helps the youth in disadvantaged  neighborhoods with job training, building confidence and job placement. Their facilities are not at all glamorous but they use what they have.

I was blown away because after ETASHA found out I wanted to see the work they were doing, a few students volunteered to have me over and offered to make a few typical Indian dishes. By the time I entered the 3rd and final house I was already stuffed, but the hospitality was incredible!

Every house we visited was amazing. The food was incredible but the hospitality was unparalleled! Each house I visited wanted to give me the world, a stranger they had never met. The third and final house I visited, the house of Shahvez Rizvi,  was one of 5 boys.  

603936_379865612090762_534095938_n

Shahvez is to the right of me, surrounded by his family. Far right, Brian and Brad (film crew).

Shahvez’s  mother was an amazing cook. She cooked a very special dish for us Lamb Biryani. Even though we were stuffed, we kept eating.

22412_379865585424098_1546354531_n

Everyone outside, in front of the kitchen. Brian still in go mode.

After dinner we sat around and talked while the Rizvis showed us family photos. But our day ended with a very special treat. Before I got to Shahvez’s home, I was told he was an amazing singer, so we were lucky enough to have him sing for us. It was the perfect way to end a great day!

So where to next? I would love to go to Peru, China, Germany or maybe back to Vietnam. Filming in Seattle or down in Louisiana would be a lot of fun too. For now I guess you will just have to wait and see.

Remember, never let anyone put you in a box. Keep them guessing and wondering, what great thing you are going to do next?  Travel, see what is going on in other communities around you. Break bread with new friends and explore a new culture. There is so much out there for you. Just take that first step, reach out and grab it. You might surprise yourself and help others along the way.


Have questions or interested in investing? Contact me at DGA@DanielleAlex.com

If you are interested in learning more about ETASHA and would like to help, click here.

Videos produced by Fools Gold Productions.

Oatmeal & Chia Seed Waffles/ Pancakes

Posted July 25th, 2013 by Danielle Alex
Waffes

Chef Danielle’s Oatmeal & Chia Seed Waffles

Yield: 8, 4” x 5” waffles

Ingredients

1 cup all-purpose flour (or all-purpose gluten-free flour)

1/2 cup old fashioned oats

1 tablespoon chia seeds

1 tablespoon baking powder

1/2 teaspoon salt

1 tablespoon agave (or white sugar)

1 1/4 cup milk (or almond milk)

1 egg

3 tablespoons butter, melted

Ingredients

Why I love This Recipe

I have always loved eating pancakes and waffles in the morning, but I wanted something that was healthier than the old-fashioned pancakes/waffle mix. Henceforth, I got to thinking about what I could add to make them better for you. Chia seeds of course! It’s an amazing superfood, known as runner’s food, because it is loaded with omega-3’s, antioxidants, and calcium just to name a few. There is even protein in chia seeds. Roughly 2 tablespoons contains 4 grams of protein and 11 grams of fiber. I even love putting chia seed in my juice just to add a boost to my day!

But back to the waffles at hand…I decided to add oats as well because they aide in heart health. Oats help lower cholesterol, and since its a whole grain, is another good source of fiber.

I love making this simple waffle and pancake batter the night before. When I do it this way the chia seeds and oats absorb the liquid in the batter, thus making them softer. You then might ask, “Danielle, what do I do if the batter is really thick in the morning?” Simple, just add a little more milk to loosen it up and voila… in the iron they go.

Dry Ingredients

Directions

1. Place all dry ingredients in a large bowl.

2. In a separate bowl, mix together wet ingredients: agave, milk, egg and melted butter.

3. Add wet ingredients to the dry mix, stir until all ingredients are incorporated. If there are a few lumps of  flour in the batter, its okay, you can leave it.

4. Let the batter sit for at least 15 minutes so the chia seeds start to absorb some of the liquid. This batter is even better when made the night before.

5. Heat waffle iron according to instructions and pour batter into hot waffle iron.

6. Serve hot with maple syrup, honey or jam. Enjoy!

Batter

Variations

Gluten Free Oatmeal & Chia Seed Waffles/ Pancakes

This recipe can be done gluten-free and dairy free. Instead of using all purpose flour try using a gluten free flour mix. If you do not want to make your own, one of my favorites is Pamela’s All Natural Baking and Pancake Mix. When using this mix, there is no need to add baking powder. This mix however, does contain almonds and cultured buttermilk powder.

To make sure it is dairy free, use almond, rice, soy or any non dairy milk you so desire. As for replacing the butter? Use vegetable oil, almond oil or walnut oil to give it a nutty taste.

Berry Oatmeal & Chia Seed Waffles/ Pancakes

Try adding fresh or frozen blueberriesstrawberries, or raspberries to the recipe to add to your antioxidants for the day.


Oatmeal & Chia Seed Waffle with Raspberries


Tea in London, Friends in Paris, Family in Lille

Posted July 23rd, 2013 by DanielleAlex.com

I was recently in London for a conference, but  wanted to take a closer look into tea culture while I was there. I have always loved tea, and I have fond memories of drinking tons of it with my grandmother when I was younger. I rented a beautiful little London flat/loft in the Notting Hill neighborhood. This was the perfect location, because I was right around the corner from the famous Portobello Market. Therefore I started my research on tea in the market, surrounded by old teapots, silver strainers, teacups and various antiques.

Check out this brief 3C webisode about tea culture in London

This particular webisode is entitle 3C because it is shorter than the normal Community Culture and Cuisine webisodes. 3C webisodes will not necessarily dive as deep into all three categories (community, culture and cuisine).

We had a lot of fun filming this episode, despite the cold and the wind that morning. Typical of London weather. I was so happy when I saw that we could actually spend a little time inside, where it was warmer, in the arcades. The next time I’m in London, I will most certainly be stopping by the market! I love antique/ estate jewelry and they have some fun vintage records.

View More: http://kerrilynne.pass.us/danielle-travel-portraits

The Tea House

When we made our way over to The Tea House in London. I was shocked to see how busy it was right after opening its doors that morning. It is located on a very quaint pedestrian street, that is lined with great shops. The shop opened 30 years ago and is still family run. Katharine Smith, the current owner was so kind to show me all around and let us film, even though it was busy. Its amazing how much they can fit in that in that shop! Andrew Broadstock taught me some interesting stuff about the history of tea. I also loved the old scale he used to measure out some of my loose leaf tea.

View More: http://kerrilynne.pass.us/danielle-travel-portraits View More: http://kerrilynne.pass.us/danielle-travel-portraits

View More: http://kerrilynne.pass.us/danielle-travel-portraits

Needless to say, I left The Tea House a very happy camper!

View More: http://kerrilynne.pass.us/danielle-travel-portraits

PARIS

After leaving London, I headed to Paris with 3 of my girlfriends to show them my old city. When we first arrived, I wanted to take them to one of my favorite quartiers (neighborhoods)…Saint Germain.  This area is loaded with great restaurants, bars, shops and movie theaters. We ended up meeting with a few of my friends I went to school with in Paris and had a great dinner at one of my favorite spots, Le Pub Saint-Germain.  My American friends got to probe my French friends about life in France. And what a great way to connect with life in Paris?!?!

Colour2013LondonParis_427

Mes amis française (my French friends).

Nweu9dNLKXvQSpGSjfG5Bp3A1fa92tW8BMXkrmASDFk,BFBXQtZl9DG0V2wtItJfTQApJ72o7fLElscDi29RlSc,zQuVN-VuJxts50l8N2E0CaIE2f7Mt_6uR0_GAI3jcfM

As we walked back after dinner, I showed the girls where you could rent bikes in the neighborhood. I loved renting bikes on the street of Paris, after the subways closed, it was the perfect way to get home. I would ride my bike from Saint-Germain, crossing in front of the la Tour Eiffel, cross the Seine, to arrive at my tiny studio in the 16eme arrondissement.

Showing my girlfriends around Saint-Germain was the perfect opener, before we hit all the tourist spots: Eiffel Tower, Champs-Élysées, Louvre Museum, SacréCoeur etc.

Colour2013LondonParis_648

After running around the beautiful city of Paris and being blown away by all of the amazing architecture, it was time for the true French experience. So I took them to Lille to meet my French host family.

Lille

A piece of my heart will always be in France, especially Lille.  I visited France twice before I went to live there at the age of 18. This was when I truly became immersed in the culture. I learned to enjoy eating meals in courses with family and friends, cheese after a meal, and how to break baguette with others, leaving crumbs all over the table. I went to pastry school, where I learned how to make croissants and other French pastries. My host father Philippe made me appreciate a good vinaigrette, he is the king of amazing vinaigrettes. And my host mother, Martine, oh Martine…and amazing cook! She taught me the pure joy of simple French dishes like quiche Lorraine, cauliflower gratin, stuffed tomatoes and leeks wrapped in ham, covered in béchamel sauce and cheese and baked to perfection. It was at this point of my life, when I truly fell in love with France, its food and dining! I already loved food and new I wanted to cook before Lille, but this whole experience took my love for food to the next level.

So of course I had to share that with my friends! What did we do in Lille? Eat! And eat everything in sight! Thank God we walked a lot, so it all pretty much balanced out in the end. We walked right around the corner to where I did my first ever, stage (internship) at Fonseca Bakery.

boulanger

View More: http://kerrilynne.pass.us/danielle-travel-portraits

We walked the streets of Vieux Lille, this is the oldest neighborhood in Lille. There was a farmers market. Farmers gave us fruit to try, we also sampled cheese and bought a roasted chicken!

View More: http://kerrilynne.pass.us/danielle-travel-portraits View More: http://kerrilynne.pass.us/danielle-travel-portraits

Colour2013LondonParis_905 View More: http://kerrilynne.pass.us/danielle-travel-portraits IMG_0953


Lunches and dinners at the house were always the highlight. Good wine, good food and great company. We sat at the table for a few hours and enjoyed each others’s company, shared new stories and plenty of laughs. I did a fair amount of translating but Martine speaks great English. I loved being able to share a true French community, culture and cuisine with my friends. I can’t wait for anther round, next time we will have try try out another country.

8VWJTKQZyrYzZ4vQglnBRwcOdN31ChMVpSFvzodYLvM,UjGRmP9ttC3t5p1bSckTW3k0vkiwdJESI6iLXAErRQg

Me and Philippe (I’m clearly feeling at home, look at my hair. Haha)

iGKhQVILK6y0qfUlWdKSH_BCHG65eKxEkZbA6hK_QqE,XxXzgnyT4eLWAGbJzdzikBVp-8F6s-oRYsYY0J7tk8I,b82DKR33cyw-FVw8a1GdO1kpqJq9SXDZbt9047V8y5Y

Martine and Lou (her granddaughter)

KcTPI3SQhREr-i7lsI1O5tAwo1zXcY1ee0GPsMVIhD8,c41Jb2zB69K7YCDodGxo5Mbt5nC6Y-SMOsppS3x4VO8,M9p7cHbvPHKn_j65u9huyzKHPDSdWfagC-qr3lC7sCU

The dinner table

dQfD-NzubYy6tg0DLIlcVWmIw-EEi-euIiZzxfeMJuc,TymreAcqT5RzpgXiQgWchC_jW-CEsE8UB2bpOKPcfwc,SwB6PtSJMlZAIb2tad-Ws_lLF4RuHE3Zx9W0iPCy-a8 QYrjNhQQqJj832LU7rd2IJTZRvoANiJ2ZkJsl39z_FA,yHRnjzyUPCCLCahYbKZ04MLg_3tB2kPpXvv10ww0oSo,TDli0PbPzZQH2fXyNGf-u4eJqkz6MlpA8Y5jdRVRnsc


Photography by Kerri Lynne Photography. Thanks for all of your lovely photos!

Thanks to Carl Jones-Schropshire for producing 3C in Lodon. To learn more about his company check out http://www.cultureofcreativity.com.